
There’s a story my grandmother loved to tell every Easter. She said that when she was young, her job at every family gathering was to make a giant platter of Deviled Eggs and she would guard them fiercely because the uncles were notorious for sneaking into the kitchen and eating them before dinner. When she finally showed me how to make them years later, she told me, “These little eggs bring people together. They disappear fast, but the memories stay.”
Every time I make this recipe, I think about how simple foods often become the most loved at the table. Whether you’re preparing a holiday meal, a picnic dish, or just a comforting snack, Deviled Eggs offer that familiar, nostalgic flavor that connects us to family, gatherings, and the joy of homemade recipes.
Intro
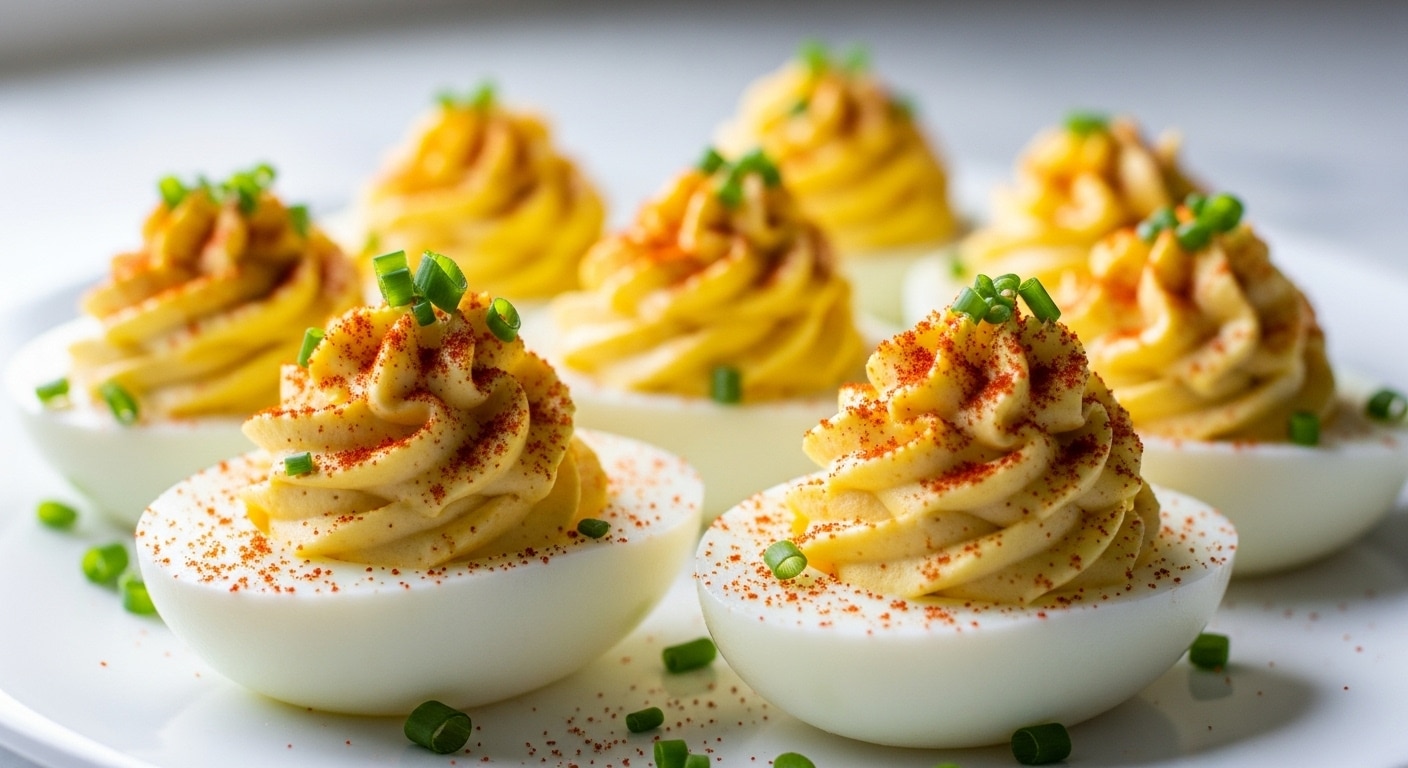
This Deviled Eggs recipe is one of the easiest, most reliable ways to make a classic appetizer that always delivers creamy texture and balanced flavor. Whether you’re using them for holidays, potlucks, or everyday meals, these Deviled Eggs turn ordinary hard-boiled eggs into something special.
Why You’ll Love This Deviled Eggs Recipe
There’s something timeless about Deviled Eggs, and this recipe gives you dependable, delicious results every single time. The filling is creamy, tangy, and perfectly seasoned—simple enough for beginners, but flavorful enough to impress guests. You’ll also love how flexible the recipe is. You can keep it classic, add heat, incorporate herbs, or take a more modern twist with avocado.
This recipe also includes three ways to hard-boil eggs: stovetop, Instant Pot, and oven. That means no matter your cooking style or equipment, you can produce perfectly cooked eggs with ease. And because the filling is so smooth and customizable, you can prepare it in minutes with pantry staples like mustard, mayo, and relish.
Most of all, these Deviled Eggs are fast, budget-friendly, make-ahead friendly, and universally loved. They’re always the first appetizer to disappear!
Ingredients for Deviled Eggs
Below are all the ingredients you’ll need for the classic version of this recipe.
Egg Base
- 12 large eggs
- 1/3 cup mayonnaise (or half mayo + half Greek yogurt)
- 2 tablespoons pickle relish (or minced dill pickle)
- 1 1/2 teaspoons Dijon mustard (or yellow mustard)
- Salt and freshly ground black pepper, to taste
- Paprika, for garnish
Ingredient Notes (Substitutions and Healthy Swaps)
Mayonnaise Options:
You can use traditional mayo, swap half for plain Greek yogurt to lighten it, or use all Greek yogurt if you prefer a tangier, healthier version.
Pickle Relish:
Sweet relish adds a mild sweetness, while chopped dill pickle gives a bright, savory punch. Either one works beautifully.
Mustard Choices:
Dijon mustard brings a sharper, more complex flavor, but yellow mustard creates a milder, classic taste. You can mix both for balance.
Paprika:
Use regular paprika for color, smoked paprika for deeper flavor, or chili powder for a subtle kick.
Healthy Swaps:
- Use Greek yogurt for half or all the mayo
- Add mashed avocado instead of extra mayo for creaminess
- Reduce sodium by using less relish and mustard
Allergy-Friendly Options:
If someone has an egg sensitivity, the filling mixture can be used on crackers, cucumber slices, or baked potatoes instead.
Step-by-Step Instructions
Step 1 – Hard-Boil the Eggs
You can choose any of the three methods below based on your equipment and comfort level.
Stovetop Method
- Place the eggs in a saucepan and cover with cold water.
- Bring to a boil over medium-high heat.
- Stir in 1 teaspoon of baking soda—this helps the eggs peel easily.
- Cover the pot with a lid, remove from heat, and let rest for 12 minutes.
- Transfer eggs to an ice water bath to stop cooking and cool completely.
Instant Pot Method
- Add 1 cup of water to the Instant Pot.
- Place the wire rack inside and arrange eggs on top.
- Cook on High Pressure for 5 minutes.
- Allow 5 minutes natural release, then manually remove pressure.
- Transfer eggs to an ice bath for 5 minutes.
Oven Method
- Preheat oven to 325°F (165°C).
- Place each egg in a muffin tin cup.
- Bake for 30 minutes.
- Transfer to an ice bath to cool.
Step 2 – Peel and Prepare the Eggs
Once the eggs are fully cooled, peel them carefully.
Slice each egg lengthwise.
Gently remove the yolks and place them in a bowl.
Place the whites on a serving tray.
Step 3 – Make the Filling
- Mash the egg yolks with a fork until crumbly.
- Add the mayonnaise (or mayo/yogurt blend), relish, and mustard.
- Mix until smooth.
- Season with salt and pepper.
- Taste and adjust by adding:
- more mayo for creaminess
- more mustard for tang
- more relish for sweetness or acidity
Step 4 – Assemble the Deviled Eggs
- Spoon the filling into each egg white.
- For a cleaner look, pipe the filling using a pastry bag.
- Sprinkle with paprika or fresh chives.
- Refrigerate until ready to serve (up to 2–3 days).
Pro Tips for Success
- Use older eggs for easier peeling. Very fresh eggs can be harder to peel cleanly.
- Always use an ice bath. This stops the cooking process and prevents chalky yolks.
- Mash yolks thoroughly before mixing. Smooth yolks ensure a creamy filling.
- Taste as you go. Small adjustments make a big difference in flavor.
- Pipe the filling. It makes the presentation look more elegant and bakery-style.
- Season lightly at first. Relish and mustard already add saltiness.
Flavor Variations
Here are fun ways to customize your Deviled Eggs:
Avocado Deviled Eggs
Add 1–2 mashed avocados to the yolk mixture for a creamy, green filling.
Herbed Deviled Eggs
Mix in fresh dill, basil, parsley, or chives for a bright, garden-fresh flavor.
Spicy Deviled Eggs
Add cayenne, Cajun seasoning, hot sauce, or diced jalapeño.
Smoky Deviled Eggs
Use smoked paprika or a dash of liquid smoke for deeper flavor.
Crunchy Deviled Eggs
Add finely diced celery or red onion for texture.
Serving Suggestions
- Serve on a chilled platter to keep eggs fresh.
- Garnish with paprika, chives, dill, or a small pickle slice.
- Perfect for Easter, picnics, potlucks, and BBQs.
- Serve alongside sandwiches, salads, grilled meats, or appetizers.
- Place them in a deviled egg carrier for easy transportation.
Storage and Freezing Instructions
Refrigeration:
Store assembled Deviled Eggs in an airtight container in the refrigerator for 2–3 days.
Separate Storage:
Keep whites and yolk mixture separate if prepping ahead. Assemble just before serving.
Freezing:
Egg whites do not freeze well, but you can freeze the yolk filling alone for up to 2 months.
Leftovers:
Mash leftover Deviled Eggs and turn them into an instant egg salad sandwich.
Nutrition Facts (Per Serving)
(Approximate; based on one half egg)
| Nutrient | Amount |
|---|---|
| Calories | 89 |
| Protein | 6g |
| Carbs | 2g |
| Fat | 6g |
| Fiber | 0.1g |
| Sodium | 157mg |
FAQ About Deviled Eggs
How far in advance can I make Deviled Eggs?
You can prepare Deviled Eggs up to 2 days in advance if stored properly in the refrigerator. If you want the best texture, store the whites and yolk filling separately, then assemble the eggs the day you plan to serve them. This keeps the filling creamy and prevents the whites from becoming watery. Keeping them chilled also helps the flavors meld together beautifully.
Why are my hard-boiled eggs difficult to peel?
Very fresh eggs cling tightly to the membrane, making peeling harder. Older eggs peel more cleanly because the pH level changes over time. Adding baking soda to the boiling water and using an ice bath helps loosen the shells. Cracking and rolling the egg gently before peeling also makes a big difference.
Why is the filling lumpy instead of smooth?
Lumpy filling happens when the yolks aren’t mashed enough before adding the wet ingredients. Mash the yolks thoroughly with a fork, or use a small food processor for extra smoothness. Also, avoid overcooking eggs overcooked yolks become dry and crumbly, making the filling harder to smooth out.
Can I make Deviled Eggs without mayonnaise?
Yes! You can substitute mayo with Greek yogurt, mashed avocado, sour cream, or even hummus for a unique twist. Each option brings a different flavor profile Greek yogurt is tangy, avocado is creamy, and hummus adds savory richness. Adjust your seasonings to balance the flavor.
Why are my egg yolks green?
A green ring around the yolk means the eggs were overcooked or cooled too slowly. It’s harmless but affects the appearance. Using the recommended cook times and placing eggs in an ice bath prevents the discoloration. Proper cooling is the key to keeping yolks bright and yellow.
Final Thoughts
Deviled Eggs are the perfect blend of simplicity and comforting flavor a classic recipe that always delivers and feels right at home on any table. Whether you’re making them for a holiday family meal, a picnic with friends, or simply craving something creamy and nostalgic, this recipe gives you a reliable method with plenty of room for creativity.
It’s easy to see why Deviled Eggs have remained a beloved appetizer for generations: they’re beautiful, delicious, customizable, and budget-friendly.
Give these a try, add your own flair if you like, and enjoy a timeless dish that brings people together just like my grandmother said they would.
For more recipes, please JOIN us in Tastymealsrecipes facebook page.