
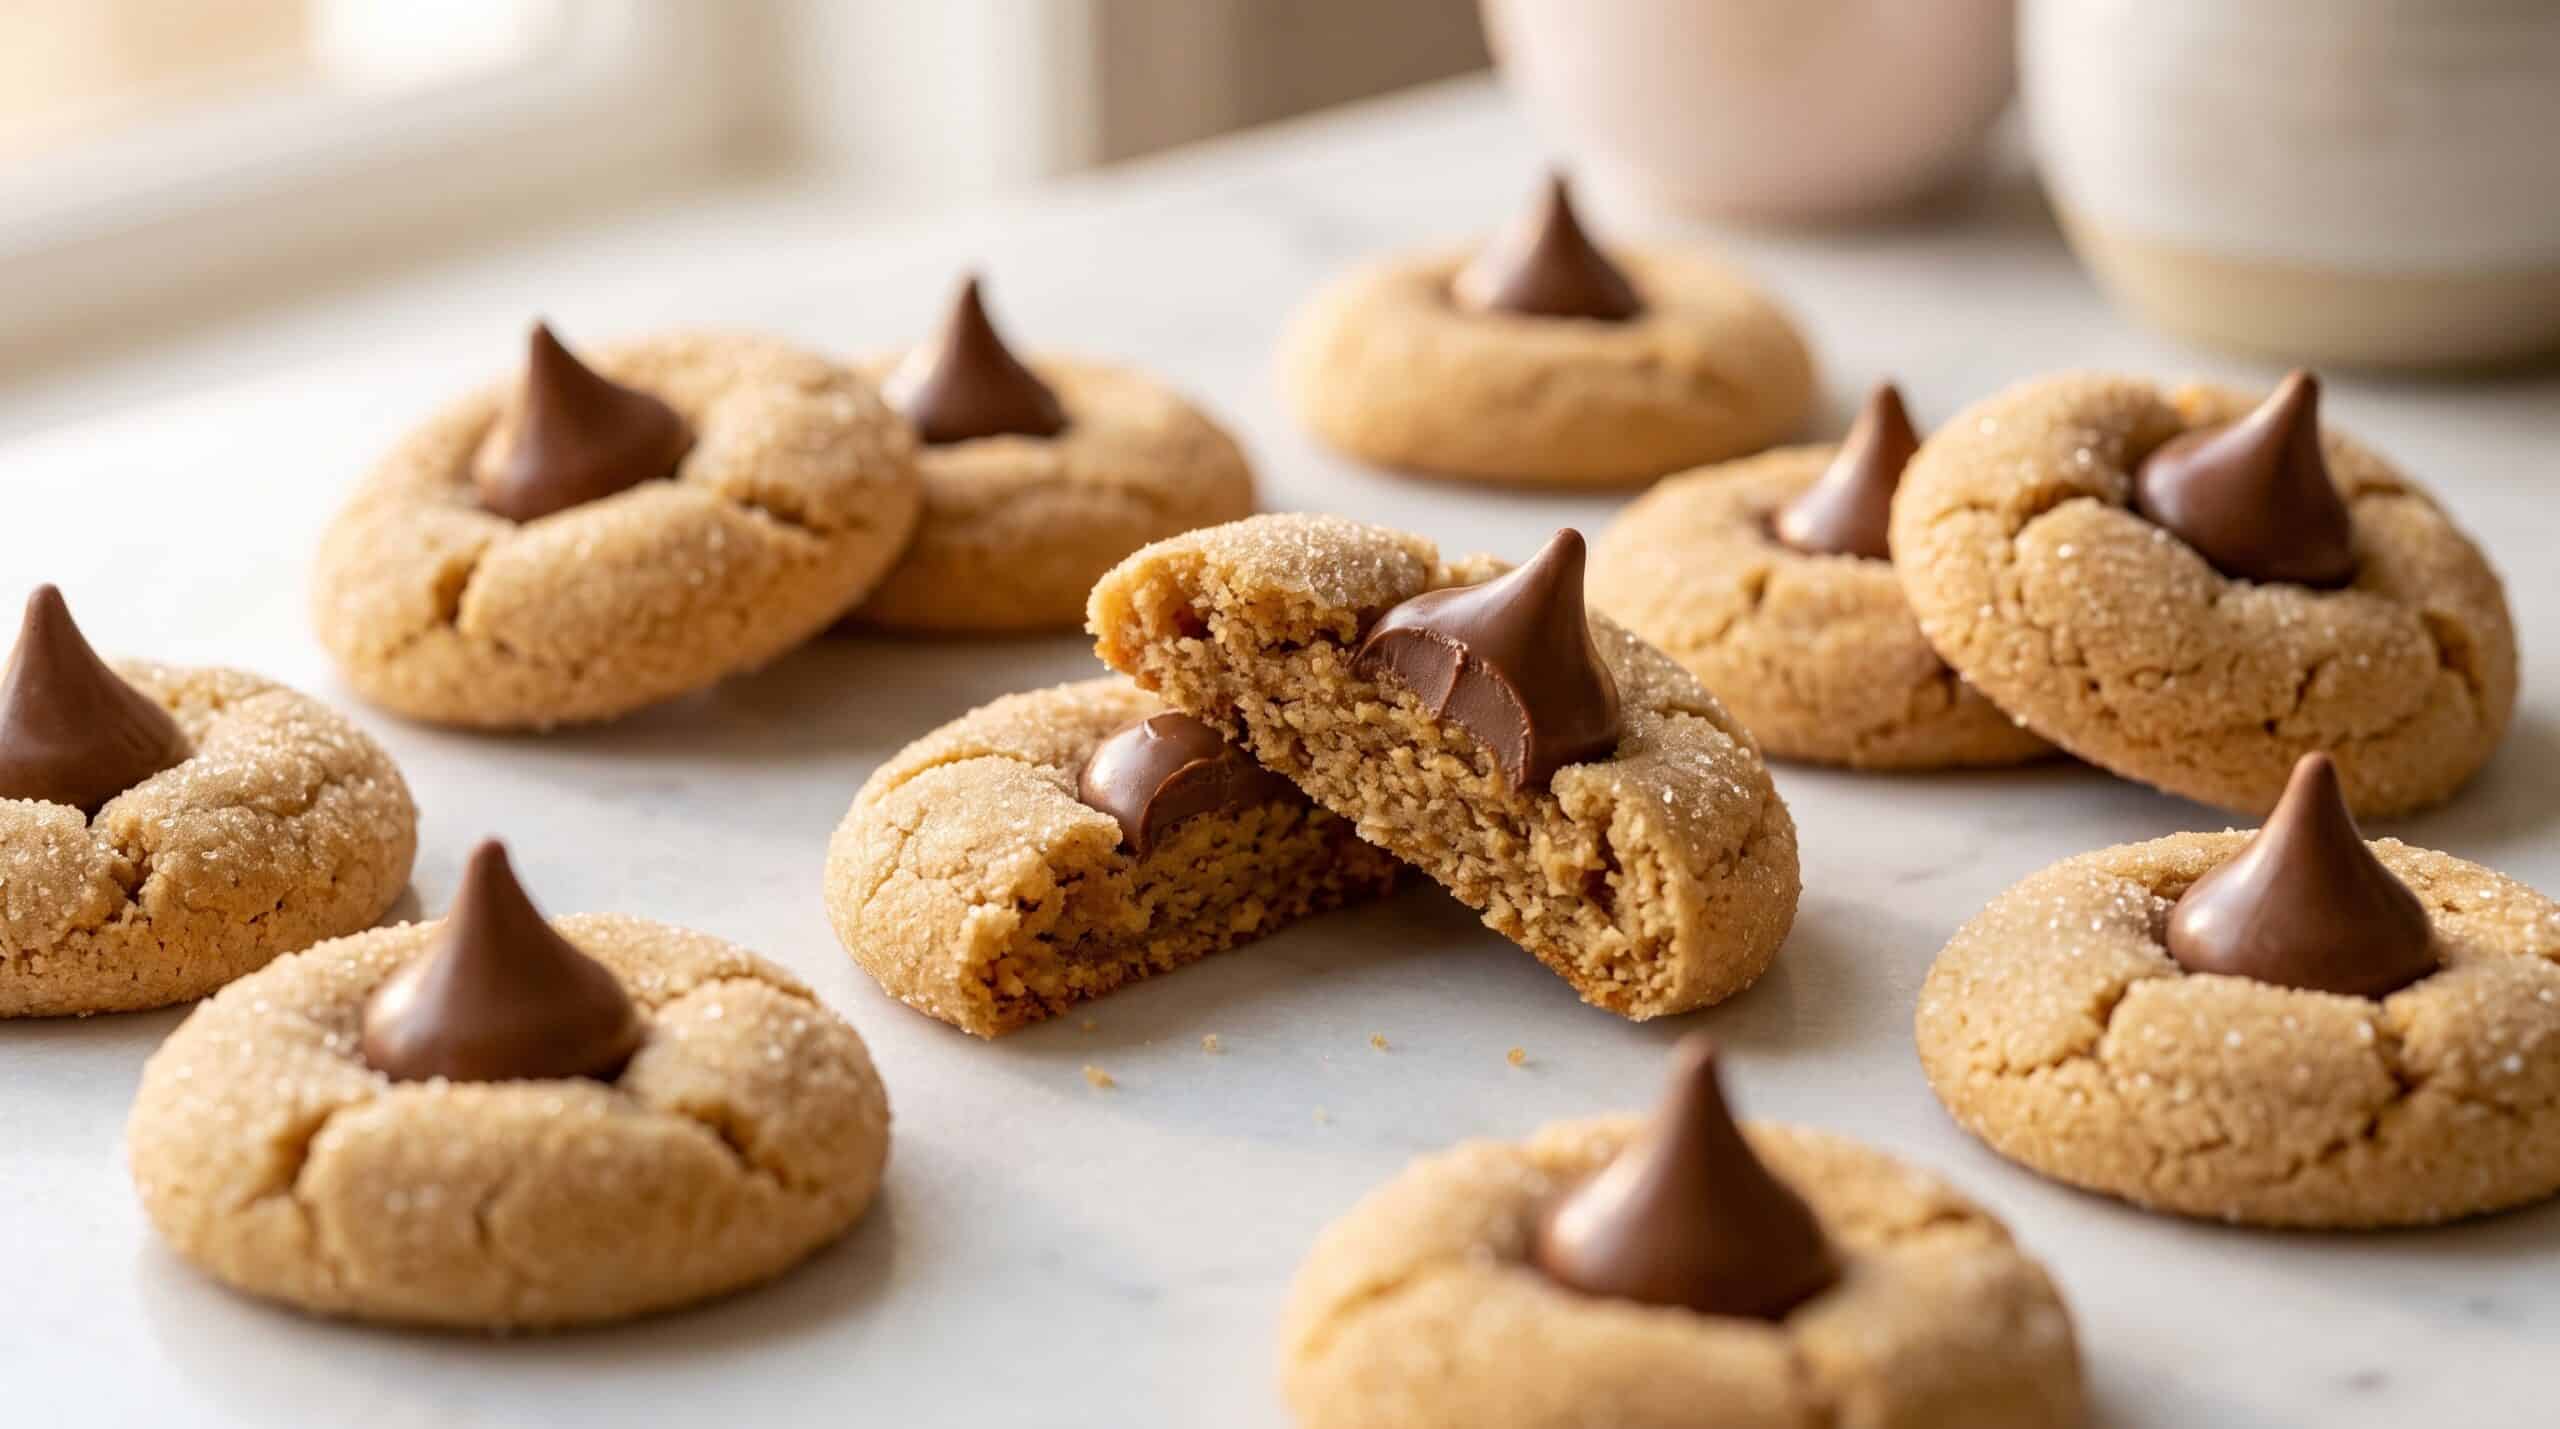
Peanut Butter Blossom Cookies represent the perfect combination of creamy peanut butter dough and a decadent milk chocolate center. These iconic treats provide a soft, chewy texture contrasted by the firm snap of a chocolate kiss. They serve as a staple for holiday cookie exchanges and family gatherings across the country. Baking these cookies creates a delightful atmosphere that captures the essence of classic American home baking traditions.
Recipe Overview
| Metric | Details |
|---|---|
| Prep Time | 15 minutes |
| Cook Time | 10 minutes |
| Total Time | 1 hour 25 minutes |
| Servings | 36 cookies |
| Difficulty | Easy |
| Cuisine | American |
Why This Recipe Works
This recipe works because it balances the saltiness of the peanut butter with the sweetness of the granulated sugar coating. The chemical interaction between baking soda and baking powder ensures the cookies maintain a soft structure without becoming too dense or flat during the bake.
My experience baking these for years confirms that the specific temperature control remains the key to success. Setting the oven to exactly 375 degrees Fahrenheit ensures the edges set while the center remains tender enough to receive the chocolate kiss without cracking the cookie base entirely.
Ingredients
| Ingredient | Quantity | Notes |
|---|---|---|
| Granulated Sugar | 1/2 cup | Use extra for rolling |
| Brown Sugar | 1/2 cup | Packed firmly for moisture |
| Creamy Peanut Butter | 1/2 cup | Avoid natural oil-separated brands |
| Salted Butter | 1/2 cup | Softened to room temperature |
| Large Egg | 1 unit | Room temperature |
| All Purpose Flour | 1 1/2 cups | Gold Medal recommended |
| Baking Soda | 3/4 tsp | Check freshness |
| Baking Powder | 1/2 tsp | Ensures lift |
| HERSHEY’S KISSES | 36 units | Milk chocolate variety |
Step-by-Step Instructions
Preparation and Mixing
- Heat oven to 375 degrees Fahrenheit to ensure proper rise.
- Beat granulated sugar, brown sugar, peanut butter, softened butter, and the egg in a large bowl until the mixture achieves a smooth, blended consistency.
- Stir the flour, baking soda, and baking powder into the wet mixture until a uniform dough forms.
Shaping and Baking
- Shape the dough into one-inch balls using a consistent scoop.
- Roll each ball in additional granulated sugar until fully coated.
- Place the sugar-coated dough balls on ungreased cookie sheets, leaving two inches of space between each.
- Bake one sheet at a time for 8 to 10 minutes until the edges appear light golden brown.
- Remove the cookies from the oven and immediately press one milk chocolate candy into the center of each.
Cooling and Storing
- Remove cookies from the baking sheet to a wire cooling rack.
- Cool for at least one hour until the chocolate centers set firmly.
- Store the finished cookies in an airtight container, layered between sheets of waxed paper to prevent sticking.
Chef Tips for Perfect Results
- Measure your flour by spooning it into the measuring cup and leveling it with a knife to avoid packing too much flour.
- Use a standard cookie scoop to guarantee that every cookie bakes at the same rate, preventing burnt or raw batches.
- Work quickly when pressing the chocolate into the cookies to ensure the residual heat holds the candy in place effectively.
- Keep your chocolate candies in the refrigerator until the exact moment you need them to prevent them from melting too quickly when pressed.
Common Mistakes to Avoid
- Over-baking the dough causes the cookies to become dry and prone to breaking when the chocolate is added. Always remove them as soon as the edges turn light gold.
- Using natural peanut butter often results in a greasy dough that fails to hold its shape. Stick to processed commercial brands for the most consistent texture.
- Adding the chocolate too late prevents it from melting slightly into the cookie, which helps it anchor properly. Always press immediately upon removing from the oven.
- Crowding the baking sheet prevents air circulation and leads to uneven cooking. Maintain the required two-inch gap between every ball of dough.
Variations and Substitutions
| Ingredient | Substitution | Impact on Flavor |
|---|---|---|
| Milk Chocolate Kiss | Dark Chocolate Kiss | Higher intensity and less sweetness |
| Creamy Peanut Butter | Chunky Peanut Butter | Adds texture but may impact cookie structure |
| Granulated Sugar | Turbinado Sugar | Provides a crunchy exterior texture |
Serving Suggestions and Pairings
Serve these cookies alongside a cold glass of milk for the ultimate classic snack. They also pair perfectly with a hot cup of black coffee or unsweetened tea during holiday brunches. For a festive touch, place them on a platter with peppermint bark or gingerbread men for a balanced dessert selection.
Storage and Reheating
| Method | Duration | Instructions |
|---|---|---|
| Countertop | 5 days | Airtight container with wax paper |
| Freezer | 3 months | Freeze in a sealed plastic bag |
Nutritional Information
Approximate values per serving (1 cookie):
| Nutrient | Amount |
|---|---|
| Calories | 110 |
| Fat | 6g |
| Carbohydrates | 14g |
| Protein | 2g |
Frequently Asked Questions
Can I use natural peanut butter for this recipe?
Natural peanut butter contains high amounts of oil that interfere with the flour-to-fat ratio. Using standard creamy peanut butter ensures the dough maintains its structural integrity and soft texture.
How do I know when the cookies are done?
The cookies reach the ideal stage when the edges show a light golden brown color. You must remove them from the oven at this point to ensure they remain soft after cooling.
What should I do if the chocolate melts too fast?
Keep your chocolate candies in the refrigerator until you are ready to use them. Cold chocolate resists melting longer, allowing the blossom to maintain its iconic shape.
Can I prepare the dough in advance?
Yes, you can refrigerate the prepared dough for up to two days before baking. Ensure the dough is wrapped tightly to prevent it from absorbing refrigerator odors.
How should I serve these at a party?
Arrange these cookies on a tiered dessert stand to showcase the chocolate centers. They look best when displayed at room temperature for optimal texture.
Mastering these Peanut Butter Blossom Cookies requires minimal effort and delivers maximum satisfaction. The combination of salty dough and sweet chocolate creates a balanced bite that never fails to impress. By following these precise steps and avoiding common baking pitfalls, you ensure perfectly consistent results every time you preheat your oven. Gather your ingredients, enjoy the process, and share these timeless treats with your favorite people during any season or celebration.